How to Freeze Green Beans: Garden Fresh for a Year
There's nothing quite like the crisp, vibrant taste of a green bean picked fresh from the garden. But what if you could capture that peak-season goodness and enjoy it long after the harvest is over? Learning how to freeze green beans is a game-changer for home gardeners and farmers' market enthusiasts alike, allowing you to savor their deliciousness year-round.
The debate over whether to blanch green beans before freezing is a classic one, often sparking passionate opinions. The good news? There's no single "right" or "wrong" answer! Both methods offer distinct advantages, and understanding them will empower you to choose the best approach for your culinary needs and storage goals. In this comprehensive guide, we'll explore both techniques, along with essential tips for preparation, packing, and cooking your frozen bounty, ensuring you get the best quality and longest storage life from your garden-fresh produce.
Why Freeze Green Beans? Unlock Year-Round Flavor and Convenience
Freezing green beans is a surprisingly easy and incredibly rewarding method of food preservation. It’s an ideal way to handle an abundant harvest, ensuring that not a single tender pod goes to waste. Here’s why it’s such a smart skill to master:
- Preserve Peak Freshness: When green beans are at their prime – crisp, flavorful, and nutrient-rich – freezing locks in these qualities. This means you can enjoy that garden-fresh taste even in the depths of winter, a stark contrast to often dull, out-of-season store-bought varieties.
- Combat Food Waste: If your garden is overflowing or you've snagged a great deal at the market, freezing prevents spoilage. It's an eco-friendly approach that makes the most of your produce.
- Convenience at Your Fingertips: Imagine having pre-prepped green beans ready for any meal. Frozen green beans are perfect for quick weeknight dinners, adding to hearty soups and stews, bulked-up stir-fries, comforting casseroles, or simply as a nutritious side dish. Their versatility makes them an indispensable ingredient in any kitchen.
- Cost-Effective: By preserving seasonal produce, you reduce your reliance on expensive, off-season vegetables, saving money in the long run.
The Garden-Fresh Advantage: Sourcing and Selection
The secret to truly delicious frozen green beans starts with the quality of the beans themselves. While you can freeze any type of green bean—be it classic string beans, slender French haricots, sturdy pole beans, or flat Romano varieties—freshness is paramount.
Harvesting and Selection Tips:
- Timing is Everything: For optimal results, aim to freeze green beans as soon as possible after harvesting, ideally within a couple of days. The natural degradation process begins quickly once picked, so immediate preservation locks in the best flavor and texture.
- Choose Wisely: Select only the most tender, crisp, and vibrant green beans. Avoid any that are overgrown, tough, stringy, or showing signs of blemishes or wilting. These older beans have already begun to lose their quality and won't hold up as well during freezing.
- Homegrown vs. Store-Bought: Homegrown green beans are truly ideal because you control the harvest time. They are typically much fresher than grocery store beans, which often travel long distances and sit for weeks before reaching the shelf.
- Farmer's Market Alternative: If you don't have a garden, your local farmer's market is the next best source for super fresh green beans. Talk to the growers to find out when their beans were picked.
- Temporary Storage: If you can't freeze them immediately, store harvested green beans in the refrigerator in a plastic bag to help them stay firm and fresh for a day or two.
Preparing Your Green Beans for Freezing
Regardless of whether you choose to blanch or freeze raw, proper preparation is essential for high-quality frozen green beans.
- Wash Thoroughly: Rinse your green beans under cool, running water. You can use a colander or even fill your sink to give them a good soak and swish, removing any dirt, debris, or small insects.
- Dry Completely: This step is critical, especially if you plan to flash freeze. Excess moisture can lead to ice crystals and freezer burn. Use a clean kitchen towel or a salad spinner to get them as dry as possible. Air-drying on a clean surface for an hour or so can also help.
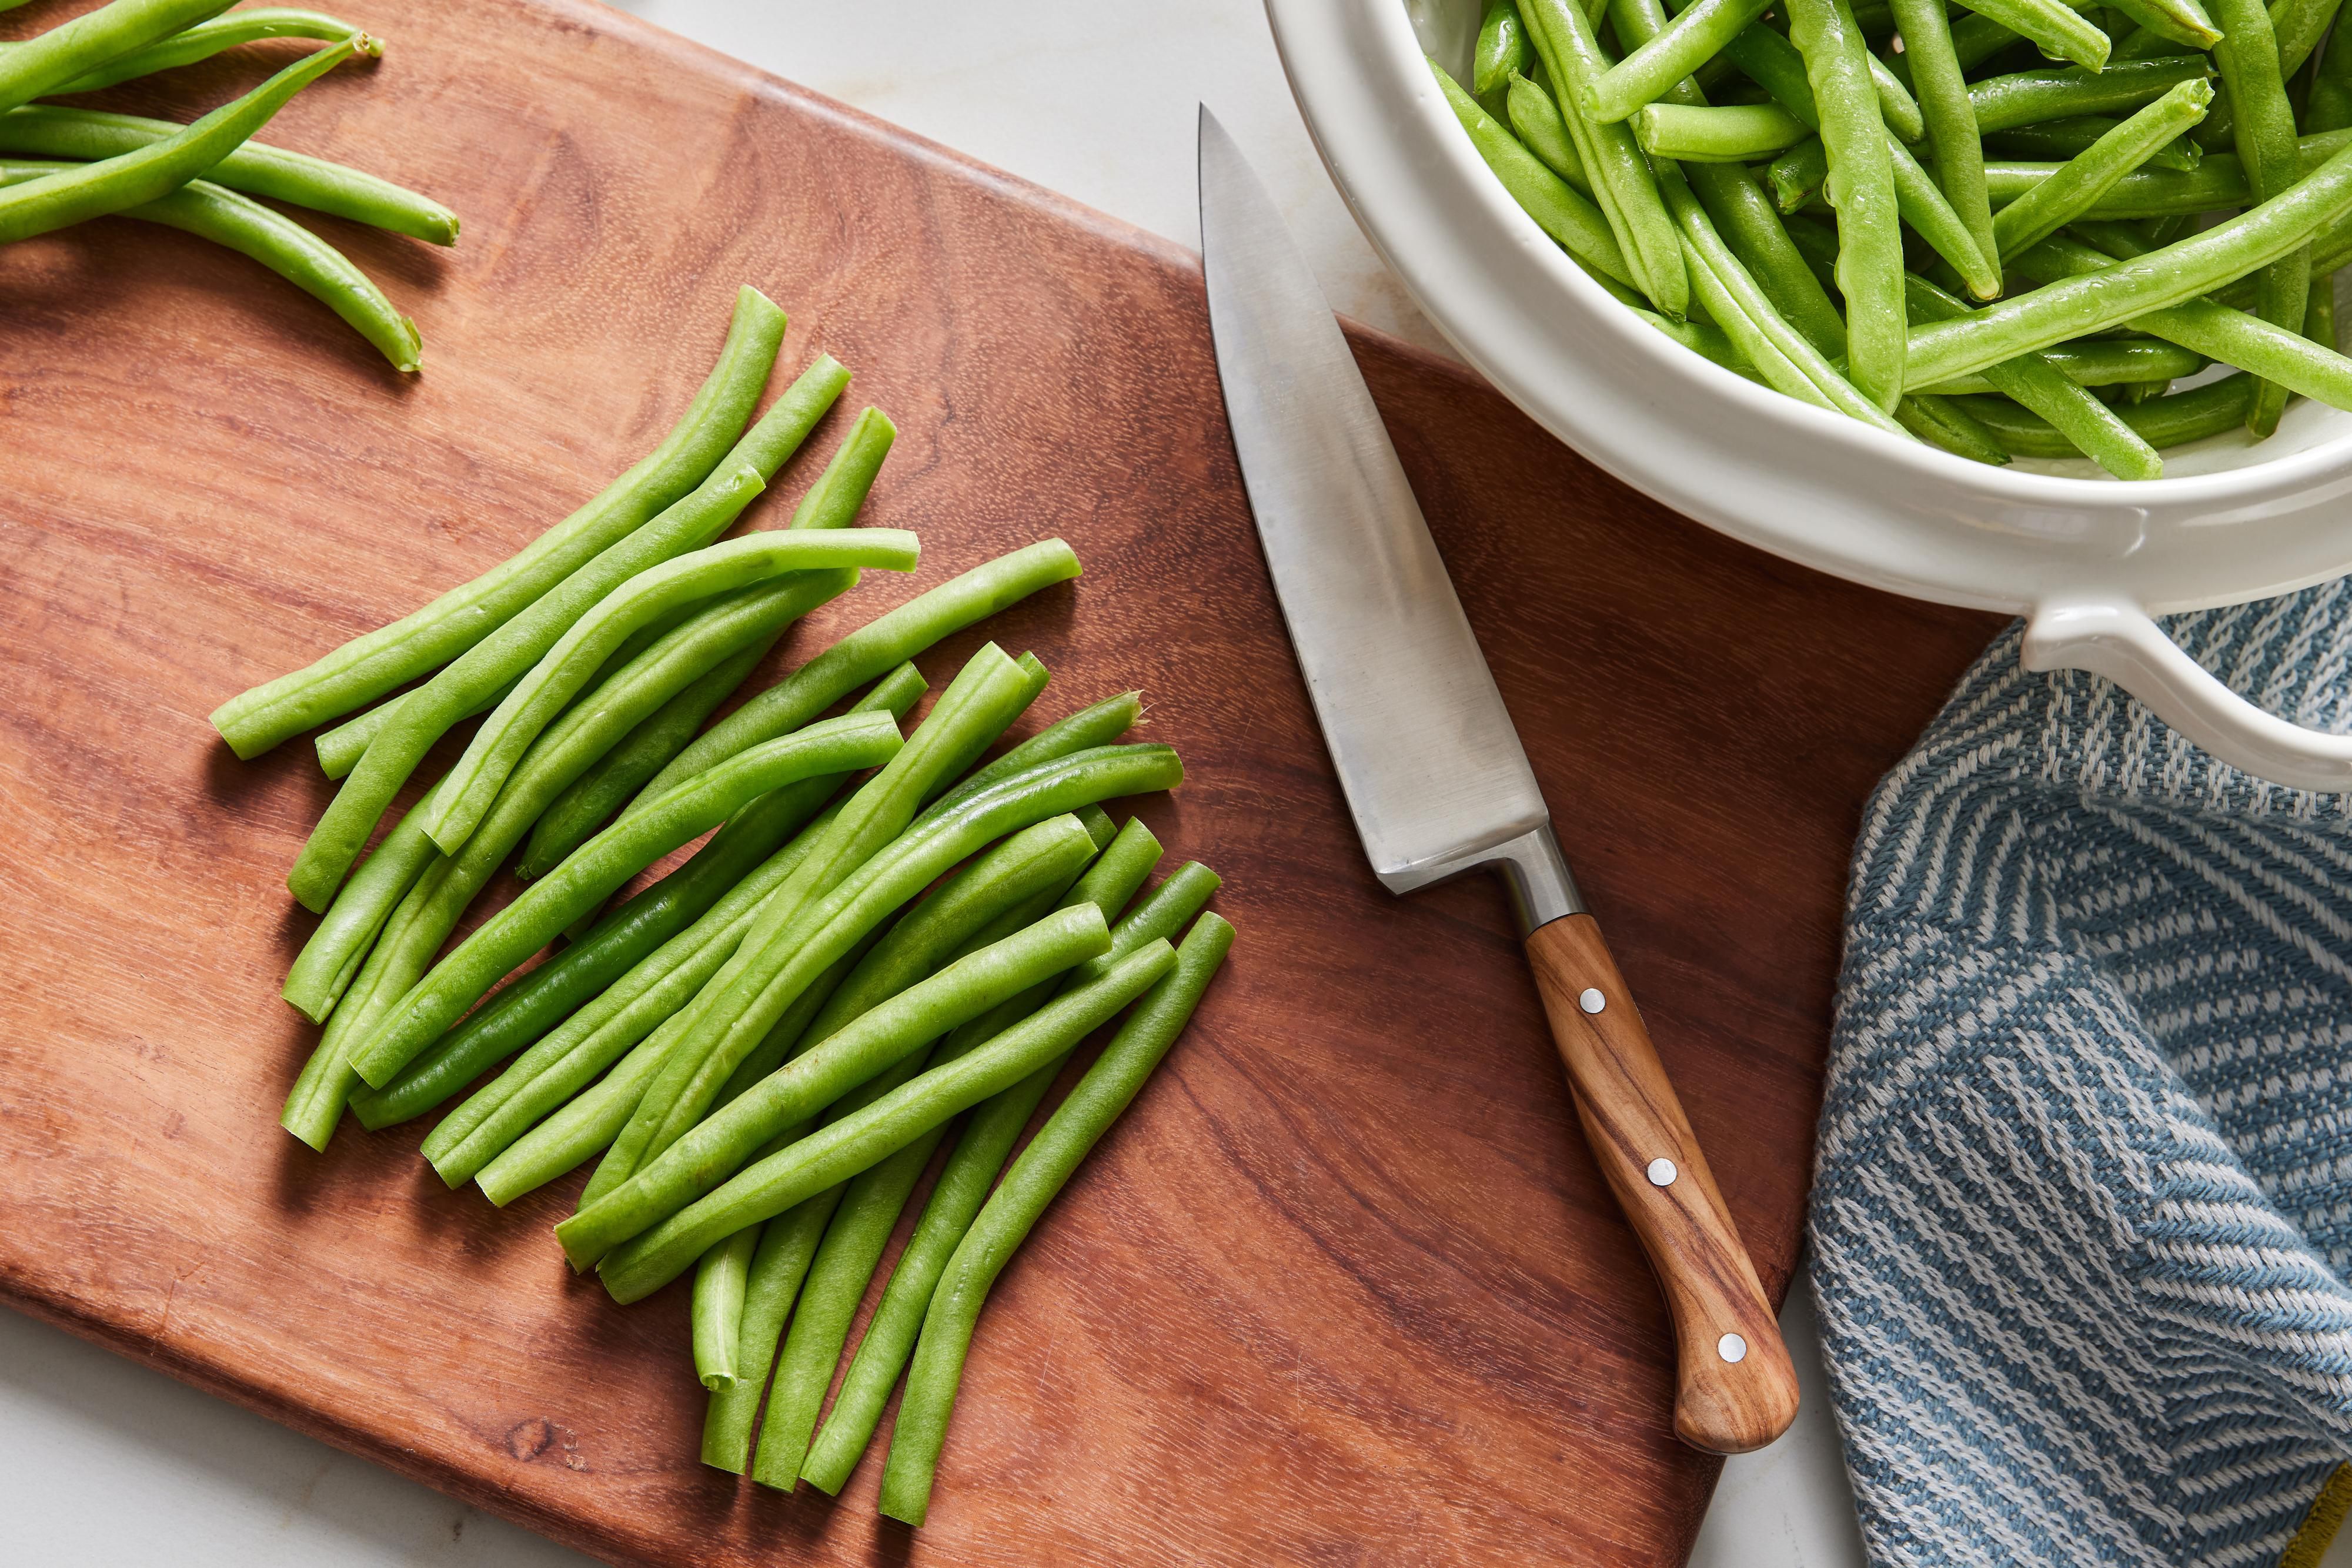
- Trim the Ends: Snap or cut off both ends of the green beans. For string beans, you may also need to remove any strings running along the seam.
- Decide on Whole or Cut: You can freeze green beans whole or cut them into desired lengths (e.g., 1-2 inch pieces). Cutting them can save freezer space and make them more convenient for future use in recipes. Whole beans might retain a slightly firmer texture, but the difference is minimal if cut correctly.
To Blanch or Not to Blanch? Demystifying the Debate
This is where personal preference and intended use truly come into play. Both methods are safe, but they yield different results, especially for long-term storage.
The Case for Blanching: Peak Quality and Longevity
Blanching involves briefly scalding vegetables in boiling water or steam, followed immediately by an ice-cold bath. This process, while adding a few steps, is highly recommended by food preservation experts for several reasons:
- Enzyme Inactivation: Blanching halts the enzyme actions that cause vegetables to lose flavor, color, texture, and nutrients during freezing. Without blanching, these enzymes continue to work slowly, leading to duller colors, tougher textures, and diminished taste over time.
- Brighter Color and Better Texture: Blanched green beans maintain their vibrant green hue and a much firmer, more appealing texture when thawed and cooked. They are closer to their fresh state.
- Extended Shelf Life: Blanched green beans can maintain their quality in the freezer for up to 12 months, making them ideal for long-term storage.
- Cleaner Product: The blanching process also helps to cleanse the surface of the beans, reducing the microbial load.
For a detailed comparison of the two methods and their impact on your frozen bounty, check out our guide on Freeze Green Beans: Blanched vs. Raw for Best Results.
The Case Against Blanching (Raw Freezing): Quick and Convenient
Freezing green beans without blanching is a perfectly safe and viable option, especially if you're short on time or only have a small batch to preserve.
- Time-Saving: The primary benefit is skipping the extra steps of boiling and ice bathing, making the process much quicker and simpler.
- Perfectly Safe: It is entirely safe to freeze green beans raw. The cold temperatures stop bacterial growth.
- Best for Short-Term Use: Raw frozen green beans are ideal if you plan to use them within 2-3 months. Beyond that, you might notice a more significant decline in color, texture, and flavor compared to blanched beans.
- Great for Soups and Stews: While their texture might soften and color might dull more rapidly than blanched beans, raw frozen green beans are still excellent for dishes where they will be cooked extensively, like hearty soups, stews, or casseroles. In such applications, the slight textural difference is less noticeable. We've even found that raw frozen beans, even after a year, can be perfectly edible and great for tossing into a winter soup!
If you're still weighing your options, our article Blanch or Not? Your Guide to Freezing Green Beans offers further insights to help you make your decision.
Step-by-Step Freezing Methods
Method 1: Blanching for Peak Preservation
- Prepare Your Beans: Wash, dry, and trim your green beans as described above.
- Set Up Blanching Stations:
- Bring a large pot of water to a rolling boil. Use at least one gallon of water per pound of beans.
- Prepare an ice bath: Fill a large bowl with ice water (half ice, half water) and place it next to the stove.
- Blanch the Beans: Carefully add the prepared green beans to the boiling water in small batches to avoid lowering the water temperature too much. Don't overcrowd the pot.
- Water Blanching: Boil for 3 minutes for whole beans, 2 minutes for cut beans.
- Steam Blanching: Place beans in a steamer basket over boiling water, cover tightly, and steam for 5 minutes. (Many prefer steam blanching as it minimizes nutrient loss.)
- Immediately Chill: Using a slotted spoon or spider, transfer the blanched beans directly into the ice bath. This stops the cooking process instantly. Let them cool for the same amount of time they were blanched.
- Drain and Dry Thoroughly: Remove the beans from the ice bath and drain them extremely well. Spread them out on clean kitchen towels or paper towels and pat them dry. This step is crucial to prevent ice crystals and freezer burn.
- Flash Freeze (Recommended): For best results and to prevent clumping, spread the dried, blanched green beans in a single layer on a baking sheet lined with parchment paper. Place the baking sheet in the freezer for 1-2 hours, or until the beans are solid.
- Pack for Long-Term Storage: Once flash-frozen, transfer the solid beans into freezer-safe bags or containers. Remove as much air as possible – a vacuum sealer is ideal, but you can also use a straw to suck out air from a zip-top bag before sealing. Leave about ½ inch of headspace in rigid containers.
- Label and Freeze: Clearly label each bag or container with the date and contents ("Blanched Green Beans"). Store in the freezer for up to 12 months.
Method 2: Quick & Easy Raw Freezing
- Prepare Your Beans: Wash, thoroughly dry, and trim your green beans.
- Flash Freeze (Recommended): Spread the prepared green beans in a single layer on a baking sheet lined with parchment paper. Freeze for 1-2 hours until solid. This prevents them from sticking together in a large frozen block.
- Pack for Storage: Transfer the flash-frozen beans into freezer-safe bags or containers, removing as much air as possible.
- Label and Freeze: Label each package with the date and "Raw Green Beans" (so you know to use them sooner). Store in the freezer for 2-3 months for best quality, or up to a year if intended for soups and stews where texture is less critical.
Optimal Storage and Usage Tips
- Remove Air: Whether blanched or raw, minimizing air exposure is key to preventing freezer burn. Use vacuum sealers for superior results, or diligently press air out of zip-top bags.
- Label Clearly: Always label your packages with the date and whether the beans were blanched or frozen raw. This helps you rotate your stock and use the raw beans first.
- Cooking from Frozen: Most recipes call for cooking green beans directly from frozen. There's no need to thaw them completely first.
- Steaming/Boiling: Add frozen beans directly to boiling water or a steamer. Cook until tender-crisp (usually 5-8 minutes).
- Sautéing: Add frozen beans to your pan with a little oil. They will release some water, which will evaporate as they cook.
- Soups/Stews: Simply toss frozen green beans into your simmering soups or stews during the last 10-15 minutes of cooking.
- Roasting: You can even roast them from frozen! Toss with oil and seasonings, then roast at a high temperature until tender and slightly caramelized.
Conclusion
Freezing green beans is an incredibly effective and satisfying way to extend the bounty of your garden, allowing you to enjoy that unparalleled fresh flavor all year long. Whether you opt for the time-honored blanching method for superior texture and longevity, or choose the quick-and-easy raw freeze for immediate use or hearty winter dishes, you're preserving a taste of summer. With these tips and techniques, you're well-equipped to stock your freezer with garden-fresh green beans, ensuring delicious, nutritious meals no matter the season.
